Showing posts with label cooking. Show all posts

Tuesday, February 28, 2012

Baked Cavatelli

This was last weeks "new" meal.  My house was turned into an italian eatery while making this. :)  It was yummy and simple!  I halved the recipe as usual.  I feel the need to add a Disclaimer here, so I shall.

Disclaimer: From this point on, unless stated otherwise, the recipes posted on this blog are prepared using only half the ingredients.  The ingredients of the recipes, as posted, are for the full recipe. 

There, now I don't have to keep telling you everytime that "I halved the recipe." :)

Ingredients: 1 package (12 ounces) italian sausage links, 2 1/2 cups dry cavatelli pasta, 1 26-ounce jar pasta sauce, 1 cup shredded mozzerala cheese, 3/4 cup onion, chopped, 2 cloves garlic, minced, 1/4 teaspoon black pepper
Note: I couldn't find cavatelli pasta so I used rotini, it worked great, any small pasta would probably work.  Also, I used 1 garlic cube in place of the fresh garlic (remember I halved the recipe so use 2 if you are making the full recipe).

Preheat the oven to 375 degrees.
Cook the pasta according to the package directions.  Basically just add some water to a sauce pan, bring to a boil, salt, and add pasta, cook until it is done.
 
While the pasta is cooking.....
Cut up the sausage into small chunks, In a skillet, cook the sausage, onion and garlic for 4-5 minutes.  Drain off any fat. 

In a medium bowl, mix together the sauce, 3/4 of the cheese and the black pepper. 

When the pasta is done cooking, drain, and add to the sauce mixture. 
Add the sausage mixure to the sauce and pasta.  Stir gently to combine.

Spoon the mixture into a baking dish (2 quart for full recipe). 
I used a 10 oz cooking dish for one serving and then divided the remaining mixture into containers to refrigerate for meals for the next few days.  I ended up with about 3 servings.

  Bake, covered, in a 375 degree oven for 25-30 minutes or until nearly heated through.  Uncover, sprinkle with remaining cheese.  Bake about 5 minutes more or until cheese is melted. 
Note:  I covered mine with foil and baked for about 15-20 minutes.  Uncovered, added the cheese and baked for another 5 minutes to melt the cheese. 

ENJOY!

See a written version of this recipe here.

Saturday, February 4, 2012

Chicken Kiev (aka Chicken Cordon Bleu - ish)

In keeping up with my cooking a new meal every week, here is last weeks.  The recipe is called Chicken Kiev but I made some adjustments so it turned out more like Chicken Cordon Bleu without the ham/prosciutto.  I guess a more technical name would be cheese stuffed chicken breast or something like that, but I am not a recipe creater or namer (obviously). :) This would also be a good meal to make ahead and cook the next day because it has to chill in the frig for 1-24 hours. 

Ingredients: 1 tablespoon chopped green onion, 1 tablespoon chopped fresh parsley (I used dry and it worked ok), 1 clove garlic, minced, 1 egg, beaten, 1 tablespoon water, 1/4 cup all-purpose flour, 1/2 cup dry bread crumbs, 2-3 skinless chicken breast, salt and black pepper, monterey jack cheese, stick (see note/picture),1 tablespoon butter

Note: Here are the changes I made I only used 1 chicken breast.  It was huge once I pounded it out so I cut the 1 in half to make 2.  The original recipe used a stick of margarine (instead of cheese) cut in half and then cut in half length wise to make a butter stick.  I used monterey jack cheese and did the same concept.  I am assuming the butter is what made it the ""Kiev".  See the picture below for a better description.  I had quite a bit of flour and bread crumbs left over so if you are only using 1-2 chicken breast you can cut back on the measurements of those two ingredients a little bit. 
--->Preheat oven to 400 degrees.
--->Mix together the chopped green onion, parsley (if using fresh) and garlic. Set aside.  Note: I used the "garlic cubes" for the garlic.
--->In a bowl mix the egg and 1 tablespoon water.  Put the flour in another bowl. And yet in another bowl (I know alot of dishes) place the bread crumbs.  Set aside.
--->Place the chicken breast in between two pieces of plastic wrap. I just used one big sheet and folded it over.  Pound chicken until it is about 1/4 inch thick. 

--->Remove from the plastic wrap.  This is where I cut the 1 chicken breast in half to make 2.  Sprinkle with salt and pepper.  Divide the green onion/garlic/parsley mixture between the chicken breast.
---> Place a stick of the cheese in the center of each chicken piece. Fold in the side edges and roll from the bottom to the top.
--->Coat the chicken first in the egg mixture, then the flour mixture, then the bread crumbs.  For a thicker coating after coating once, re-coat with the egg mixture and the bread crumbs.  Note:  Make sure you coat the ends well to help keep the cheese from making an escape. :)

--->Place in a baking dish, cover and refrigerate for 1-24 hours. (1 hour minimum) I left mine in overnight and cooked them the next day. 

--->When you are ready to cook the chicken, melt 1 tablespoon butter in a skillet, add the chicken rolls to the skillet.  Cook about 5 minutes or until golden brown.  Turn the chicken every few minutes to brown all sides. 
--->Remove from skillet and place back into the backing dish.  Bake for 15-18 minutes.  They should come out looking like this.  Apparently I didn't coat the ends of that one very well and the cheese escaped.

--->EAT!
Note: It might be helpful to wait a few minutes before cutting into the chicken so that the cheese doesn't run out all at once.  I was too excited and cut right into it.  Hence, the cheese running out. 

You can find a written version of this recipe here.

Sunday, January 29, 2012

Whole Wheat Banana Bread (no nuts!)

I'm all about healthy eating, I just don't go all crazy about it or anything.  Here is my attempt at some "healthy" whole wheat banana bread.  And yes, I know I left out the "nut".  I do not like cooked/baked nuts so I left those out.  But if you like those go ahead and add them.  I'm not eating it so it doesn't matter to me. :) 

This bread turned out great!  I'm sure I will continue to tweak it every time I make it.  But it was yummy!

Ingredients: 1/3 cup of oil (or applesauce, I used applesauce), 1/2 cup of honey, 2 eggs, 1 cup mashed bananas (I used 3 bananas), 1 teaspoon vanilla, 1 and 3/4 cup whole wheat flour, 1/2 teaspoon salt, 1/4 cup hot water, 1 teaspoon baking soda. 

--->Preheat oven to 325 degrees.
Mash the bananas.  I used a fork and it worked great.

Add the applesauce and honey to your bowl.  Mix it up.  Note: to make honey slide out of the measure'er better, spray it with cooking spray before adding the honey, slides right outta there.

Add 2 eggs and mix well.

Add mashed bananas and vanilla.  Mix. ***I agree it looks kinda gross.

Add whole wheat flour and salt. Again, mix.

Add the baking soda to the hot water, (NOT to the batter!) stir to dissolve.  -- Note:  This causes a pretty neat fizzy noise that makes you feel all science-y-ish.  :)

Pour the water into the batter.  Mix.  Pour the batter mixture in to your GREASED 9x5 inch loaf pan. Yes, I missed the pan.  I am a messy cooker.  But I wiped it off before baking so it wouldn't get burnt.

Bake for 55-60 minutes.   Fresh out of the oven! :)

Allow to cool for about 10 minutes, run a knife along the edges to loosen the loaf.  Carefully dump out onto a baking rack to cool. 

Allow to cool for at least 30 minutes before slicing. 

ICING (optional):  When you pull the bread out of the oven, let it cool for about 10 minutes, pour this icing/glaze over the top and allow to harden.  It's sooooo good!

Ingredients: 1/4 cup powdered sugar, 1-2 tablespoons milk.

Really, I just eyeball the ingredients for this, no measuring required.  Just start small or it will keep growing and growing and GROWING and then you will have so much icing you will have to bake another loaf of bread (what a shame).

I ended up with an icing that is pretty thin or runny, you don't want it to be too thick, just like a glaze.

Pour on top of your freshly baked loaf of bread, allow to cool with the bread. Important Note: Notice that I covered the baking rack with a piece of foil. If you do not do this before pouring on the icing, you will have a sticky mess to clean off of your counter = no fun!

I like to eat this with a generous heap of butter (so much for healthy).  YUMMY!!!
  ** Nooooo, it's not meatloaf!  Haha....it's dark because of the whole wheat flour. :)

Note: This bread is great to make on a rainy or snowy, cold day.  Eat with a cup of tea or coffee or while reading a book or watching a movie....the possibilities are endless! :) 

See a written (no pictures) copy of this recipe here: Whole Wheat Banana Bread (no nuts!!) - Recipes

Saturday, January 28, 2012

Measurement Converter

I found a recipe that I want to try out.  But the measurements are in grams instead of cups, tablespoons, ect.  Google to the rescue!!!

I found this neat converter and was able to convert the measurements into cups (it has other conversions too).  I have to admit I kind of guessed at the amounts because I am unable to convert decimal to fraction in my head.  I was super excited to find this!

Here is the site: Cooking Conversions - Gourmetsleuth.com

Trying this new recipe out today! 

Sunday, January 22, 2012

Self Cooking Challenge/Chicken Enchiladas with Green Sauce

Self Cooking Challenge: The beginning of January, being it was a new year, I decided to start cooking at least one new meal per week.  By "new" I mean something I haven't cooked before, an element/ingredient/technique in the recipe that I haven't done before. Not necessarily something with weirdo ingredients just something new to me.  The purpose of this being that I have been super lazy in cooking lately.  My excuse is that I am cooking for one, so its so much easier to eat a PB&J or bowl of cereal or some made up concoction instead of cooking a meal.   Well, no more (at least once per week)!  An added bonus is that I will have an already stocked up wealth of recipes to use for whatever the future might hold (family, serving, etc.)! The bright side of cooking is I can cook something at the beginning of the week and have it for at leeeast the next few days...ha. 

So far, I have done something new every week.  I will post the recipes I have done up until now at a later date.  But for this week I decided to make Chicken Enchilada's with Green Sauce.  Chicken Enchilada's I've made before.....but the green sauce, not so much.  I love it in restaurants but never attempted it myself.  So here's what I did...

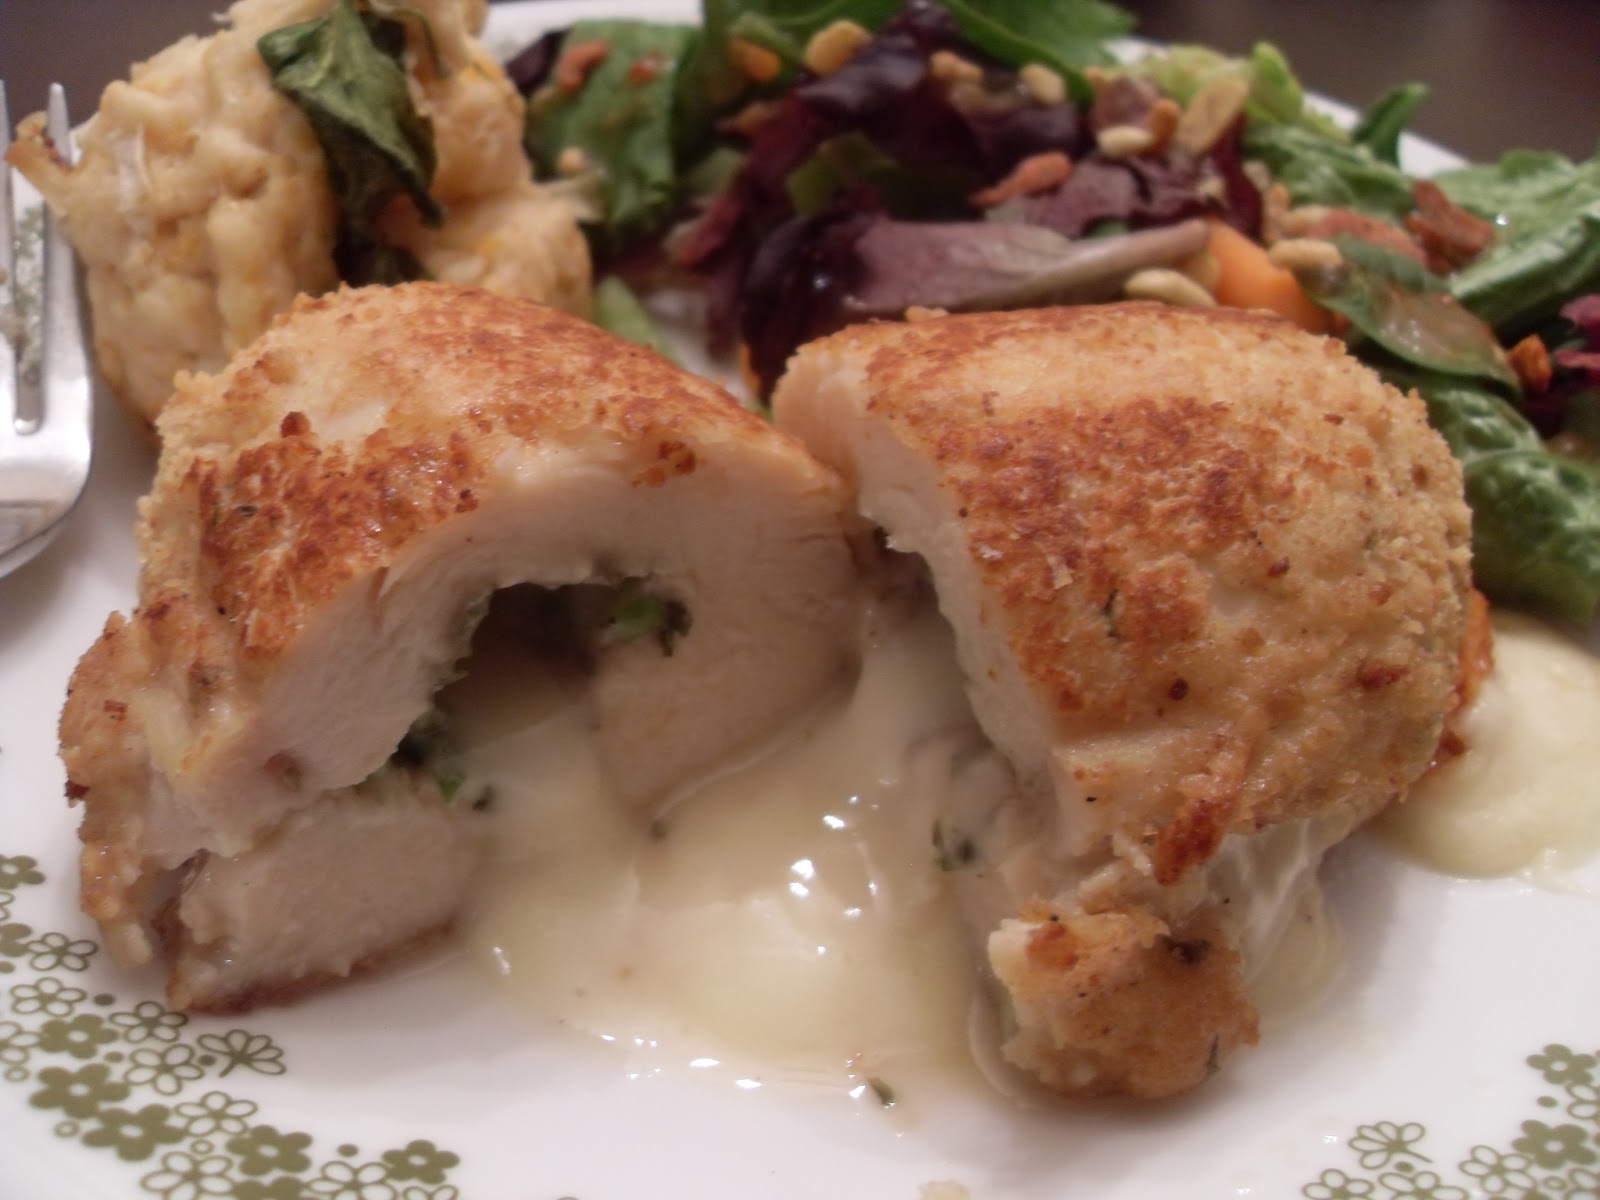
Oh my yummmmy were they gooooood!!!!! :)

This serves probably about 3. The original recipe was for 6 but the website has a handy little calculator that will adjust the measurements for more or less servings. 

**Before starting any of this I boiled 1 (it was huge) chicken breast in about 2 cups of salted water for about 30 minutes.  I then shredded it using two forks = cooked chicken breast, shredded.

Ingredients: 11/2 Boneless, Skinless Chicken Breast, shredded  -- 6 corn tortillas -- oil for pan-frying the tortillas -- 5 oz (or as much as you would like) Monterey Jack cheese, shredded -- 2-3 green onions, chopped -- 1/4 cup onion, chopped -- 2 tablespoons butter -- 2 tablespoons flour -- 1 cup chicken broth -- 1 can (4 oz.) chopped green chile's -- 1/2 cup sour cream -- 1/4 cup fresh cilantro (I used cilantro cubes and added it to the sauce - see below).

Here's the shredded chicken breast.

----> Preheat oven to 375 degrees.
----> Chop up the 1/4 cup of onion and 2-3 green onions.  Shred the cheese, set aside.

----> Heat 2 tablespoons of oil (I used canola) in a skillet.
----> Once the oil is hot (a good way to test this is to put the handle of a wooden spoon in the oil, if it bubbles around the spoon handle, it is good to go) fry the tortillas one at a time for about 5 seconds on each side.  It only takes a few seconds, they just need to be soft and pliable, not crunchy! Drain each tortilla and place between layers of paper towels to absorb the extra oil. 
 
----> Melt 2 tablespoons of butter in a saucepan over low heat.  Note: Do NOT burn! Yuck!

----> While whisking (this is important), slowly add the 2 tablespoons of flour.  Whisk continually until the mixture comes to a boil.  Fun note:  This is called a rue (Another fun note: not sure on the spelling).

----> Continue whisking (I know its a lot of whisking), slowly add the 1 cup chicken broth.  Keep on'a whiskin' until the rue :) thickens.  It might seem like its not going to, but it will thicken, I promise!

----> Mix in the 1/2 cup sour cream, and 1 can of chopped chile's (used the whole can).  Here is where I added the "cubed" cilantro as mentioned above.  Stir this until blended.  Turn your burner to low (do not let it come to a rolling boil). 


----> While the sauce is heating ----> Go back to the waiting tortillas, time to fill them up! Add some chicken.  Add some of the chopped onions and cheese, lots of cheese. 

NOTE: Don't forget about your sauce heating on the stove. Stir it occasionally.
----> Roll up the tortillas and place in a GREASED baking pan with the seam down. 
----> Repeat the fill and roll process until you have filled up your baking dish, like so:

----> Pour the sauce over the rolled up tortillas in your baking pan.  Make sure it is all covered with sauce.

----> Bake for 20 minutes or until it is all nice and bubbly. 
----> After 20 minutes, if you had any shredded cheese left over from the filling, sprinkle it on the top.  Continue baking another 5 minutes or until the cheese is melted and it becomes all bubbly again.

--->  Plate it.  Garnish with chopped green onions, any left over onions, cheese or whatever toppings you like.........and EAT!

                               
              Yep, it's this good!! ------->


These are the little cilantro cubes I was talking about.  They are awesome!  I found them in with the mexican food stuff at Walmart.  Our store doesn't always have the freshest "fresh" cilantro.  These are a great substitute.  They come in a cube and you just smash/crumble them up into whatever!  Love'em.